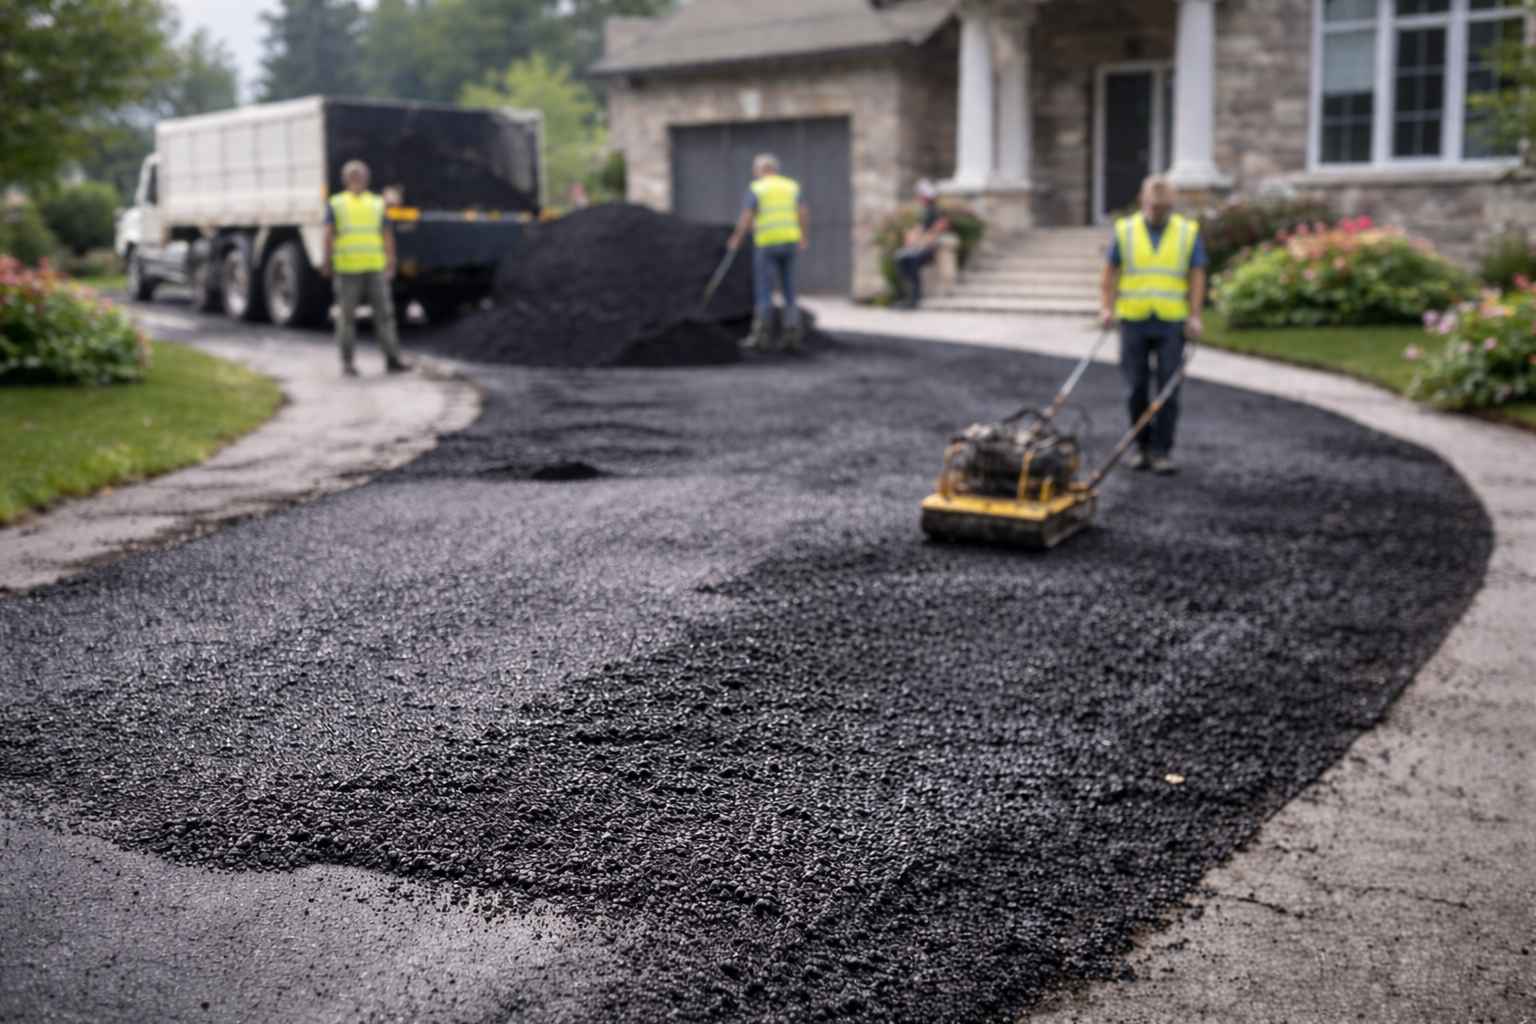
Nobody really thinks about their driveway until something goes wrong. One day, it’s a smooth, dark stretch of curb appeal, and the next, it’s looking a bit like the surface of the moon.
Whether it’s a spiderweb of cracks or a pothole that feels like it’s trying to swallow your front tyre, driveway damage is a literal bump in the road of homeownership.
If you have a bitumen (asphalt) driveway, you’re actually in luck. Bitumen is incredibly resilient, but more importantly, it’s repairable. You don’t always need to call in a heavy-duty construction crew and spend thousands on a full resurface.
With a little weekend elbow grease and the right approach to bitumen repair, you can get that driveway looking sharp again. Grab a coffee, and let’s walk through how to DIY your way back to a smooth ride.
Why Bitumen Breaks Down

Before we get into the “how,” let’s talk about the “why.” Bitumen is basically a mixture of stone, sand, and a sticky, petroleum-based binder.
It’s flexible and can expand and contract without issue. Hence, it’s great for driveways. However, its biggest enemies are water, UV rays, and oil spills.
- Water:- It seeps into tiny cracks, sits there, and then expands or erodes the base underneath.
- Oil:- That leak from your old truck actually dissolves the chemical bonds in the bitumen, turning it into soft mush.
- Sun:- Over the years, the sun “bakes” the oils out of the bitumen, making it brittle and grey instead of black and flexible.
Recognising these early is the key to a cheap fix versus an expensive replacement.
Step 1: The Great Clean-Up
- You can’t repair what you can’t see. The most common mistake people make with bitumen repair is trying to patch over dirt. It just won’t stick. Start by giving the driveway a vigorous sweep. Use a stiff-bristle broom to get all the loose pebbles and dust out of the cracks.
- If you’ve got weeds growing through the cracks, pull them out and use a hit of weed killer a few days before you start your repair. If there are oil stains, use a heavy-duty degreaser or even some dish soap and a scrub brush. If the oil stays, your repair material will just peel right off.
Step 2: Assessing The Damage
Not all damage is created equal. You generally fall into three categories:
- Hairline Cracks: Usually less than 5mm wide. These are easy.
- Major Cracks/Gaps: Anything wider than a pencil.
- Potholes: The craters. These require a bit more “meat” in the repair.
Step 3: Tackling The Cracks
- For those small spiderweb cracks, you’ll want a liquid crack filler. You can buy these in jugs at most hardware stores. It’s a bit like icing a cake: you pour the liquid into the crack, let it settle, and it hardens into a flexible waterproof seal.
- For larger cracks, you can use a bitumen rope or a thicker caulk-style filler. Some people even use a “hot melt” stick that you melt into the crack with a propane torch. The goal here is simple: stop water from getting underneath the surface.
Step 4: Pothole Surgery
This is the satisfying part. If you have a hole, you need cold-patch asphalt. This stuff is a lifesaver. It’s essentially “ready-to-use” bitumen that stays soft in the bag but hardens once you compress it.
- Square it off:- If the hole is jagged, try using a hammer and chisel to make the edges a bit more vertical. It helps the patch “lock” into place.
- Fill it up:- Pour the cold patch into the hole. You want to overfill it slightly—about 1-2 centimetres above the surface.
- The Thump:- Now, you have to compact it. You can use a hand tamper, or, if you want the “DIY hack” version, put a piece of plywood over the patch and drive your car over it a few times. The more you compress it, the stronger it gets.
Step 5: Seal The Deal
- Once your patches are done and cured (check the bag for times, but usually 24-48 hours), you should consider a sealcoat. Think of this like sunscreen for your driveway.
- It’s a thin liquid layer that goes over everything, turning the whole driveway back to a deep, uniform black and protecting it from the sun and rain.
- Apply it with a squeegee or a large brush. Start at the highest point of the driveway and work your way down. It’ll make your DIY patches blend in perfectly, and your neighbours will think you spent a fortune on a professional crew.
Also Read:- How to Repair Concrete Cracks in Driveway : Guide 2026
Wrapping Up
Repairing a bitumen driveway isn’t rocket science, but it does require patience and the right materials. By catching cracks early and filling those potholes before they become “sinkholes,” you’re extending the life of your driveway by a decade or more.
Plus, there is something deeply satisfying about a smooth, black driveway that didn’t cost you your entire savings account. Now, go forth and conquer those cracks with bitumen repair by Civilcraft!
FAQs
Q:- How long do I have to wait to drive on a bitumen repair?
Ans:- For small crack fillers, usually 24 hours. For deep potholes using cold patches, you can often drive on them immediately (which actually helps compact the material), but avoid “power steering” or turning your wheels sharply on the patch for a few days.
Q:- Can I do bitumen repair in the rain?
Ans:- Definitely not. The area needs to be bone dry for the fillers and patches to bond. If it’s damp, the repair will likely lift and peel within a few weeks.
Q:- What is the difference between hot-mix and cold-patch?
Ans:- Hot-mix is what the pros use; it’s heated to high temperatures and requires heavy machinery. Cold-patch is a DIY-friendly version that stays pliable at room temperature but hardens through air exposure and compaction.
Q:- My driveway is grey and “faded.” Do I need a full repair?
Ans:- Likely not! It probably just needs a sealcoat. If there aren’t many cracks, a fresh layer of bitumen sealer will restore the colour and provide a new moisture barrier.
Q:- Is bitumen repair permanent?
Ans:- While very durable, no patch is “forever.” A good cold-patch repair can last several years, but eventually, the natural movement of the earth may require a touch-up.